Hiya Gorilla Gang,
As we continue Chris's amazing build-up gorilla, we are now moving off of the skin for a while, and we'll turn our attention to the fur !
Back to Chris Walas !...
Now I'm going to glue the basic fur onto the head. I'm using the fur that was on the original mask to the cheap suit and it's not a lot of work to adapt it.
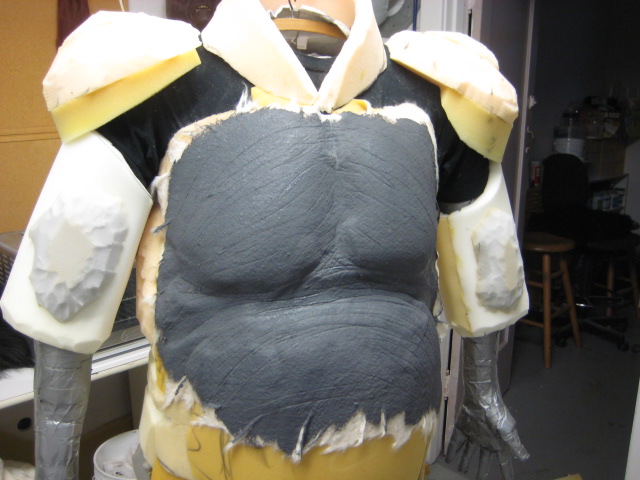
But first I'm going to glue on a section of 1" foam to the back of the head to add size and also to make the mask fit snugly enough that no straps will be necessary… I hope.
![]()
It worked out well and the mask is a nice, snug fit. I may have to make adjustments later for whoever winds up wearing the suit, but hey, that's show biz.
Normally I would cut the fur into more sections for easier assembly, but the existing fur was already fairly close to what I needed, so I merely cut it into two sections: a front and a back.
![]()
![]()
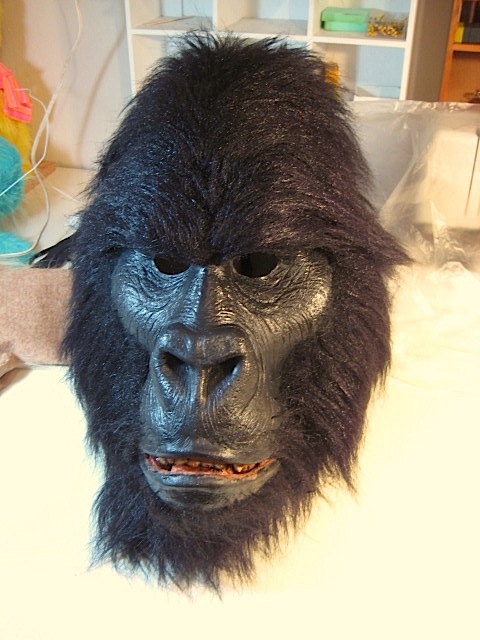
Now the tricky bit: The upper edge of the cheek fur must be glued only along it's leading edge. This is to leave room for some movement in the jaw as well as allow access under the fur to replace the rubber bands when necessary.
With that much of the fur glued, the mask looks like this:![]()
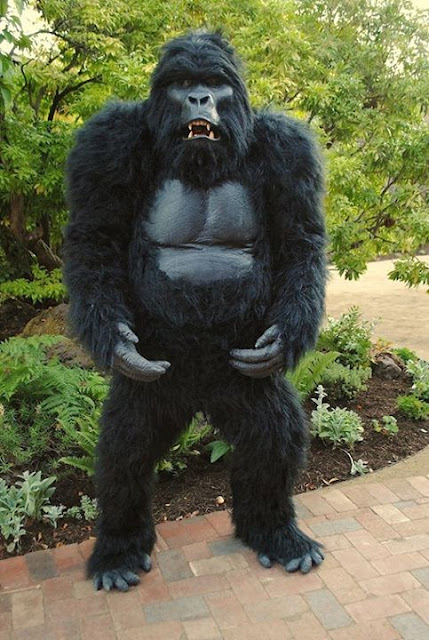
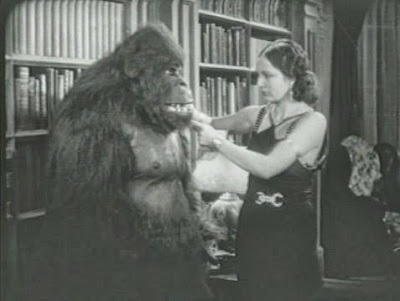
The fur on the lower jaw still needs to be glued, but I need to allow for the opening of the mouth. The simplest way I've found to deal with this is to prop the mouth open at least as far as it will be able to be opened by an operator and then glue the fur solidly in place right up to the edge of the lip.![]()
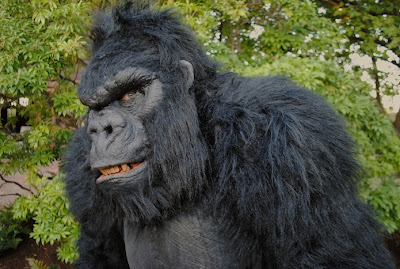
I've done this a number of times now and almost always, the fur finds the right place when the mouth closes:![]()
So the above shot is where I'm stopping on the head fur. There's still plenty of work to be done, but I prefer to wait until I have more, or even all, of the rest of the costume together to do the finish work. I'm still not sure what I'm going to do on the forehead and brow; whether to shave the fur down short, leave it long, fur the brow, leave the brow bare. I'll figure it out later.
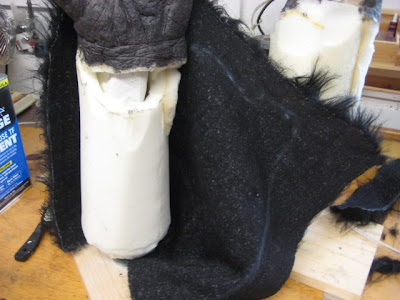
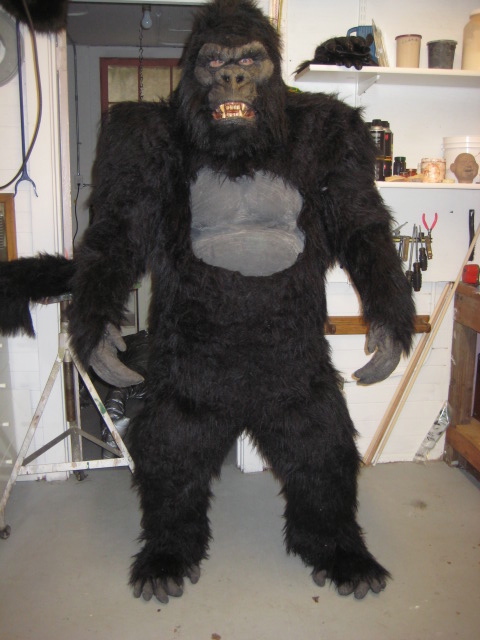
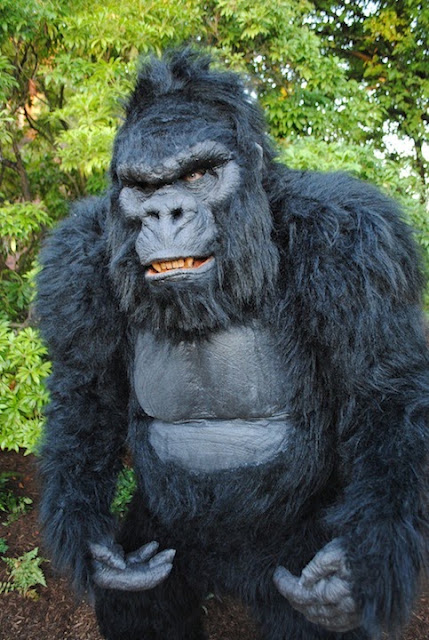
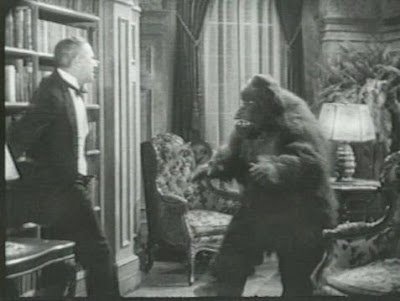
Just to help me visualize the proportions of the suit, I threw the existing suit around the base of the head to get an idea of mass:![]()
I'm beginning to think this guy may turn out OK!
Next time, we set the head aside and start all the other work, so get ready!
As we continue Chris's amazing build-up gorilla, we are now moving off of the skin for a while, and we'll turn our attention to the fur !
Back to Chris Walas !...
Now I'm going to glue the basic fur onto the head. I'm using the fur that was on the original mask to the cheap suit and it's not a lot of work to adapt it.
But first I'm going to glue on a section of 1" foam to the back of the head to add size and also to make the mask fit snugly enough that no straps will be necessary… I hope.

It worked out well and the mask is a nice, snug fit. I may have to make adjustments later for whoever winds up wearing the suit, but hey, that's show biz.
Normally I would cut the fur into more sections for easier assembly, but the existing fur was already fairly close to what I needed, so I merely cut it into two sections: a front and a back.

I glued the back on first and carried the leading edge just up over the crest line. I only glued this piece down along the side and top edges, about a two inch band. This is in case I need to make any adjustments later on down the line, I'll have access to the center section to add or subtract as needed.
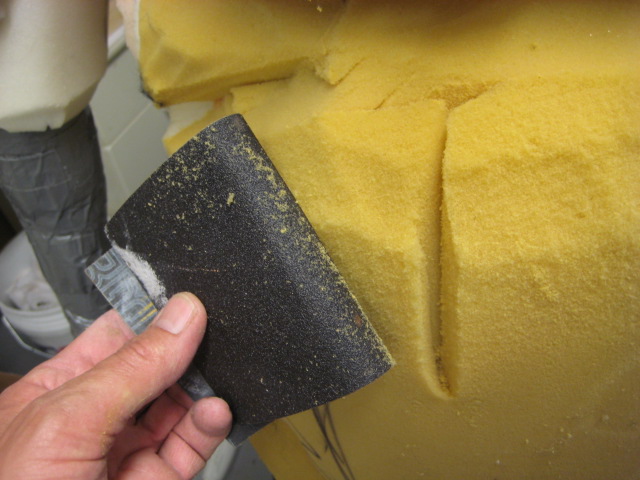
Here's the back already on and the forehead section about to be glued down. This entire section is glued down to help stiffen this part of the mask. So I've started at the top and I'm going to work my way down the sides next. A lot of the faux furs available use a white thread in the backing that shows horribly when it's cut, so I just use a black sharpy and darken it before gluing. In this next photo, the upper edge is as cut and the lower edge has been Sharpied.
Here's the back already on and the forehead section about to be glued down. This entire section is glued down to help stiffen this part of the mask. So I've started at the top and I'm going to work my way down the sides next. A lot of the faux furs available use a white thread in the backing that shows horribly when it's cut, so I just use a black sharpy and darken it before gluing. In this next photo, the upper edge is as cut and the lower edge has been Sharpied.

Now the tricky bit: The upper edge of the cheek fur must be glued only along it's leading edge. This is to leave room for some movement in the jaw as well as allow access under the fur to replace the rubber bands when necessary.
With that much of the fur glued, the mask looks like this:

The fur on the lower jaw still needs to be glued, but I need to allow for the opening of the mouth. The simplest way I've found to deal with this is to prop the mouth open at least as far as it will be able to be opened by an operator and then glue the fur solidly in place right up to the edge of the lip.

I've done this a number of times now and almost always, the fur finds the right place when the mouth closes:

So the above shot is where I'm stopping on the head fur. There's still plenty of work to be done, but I prefer to wait until I have more, or even all, of the rest of the costume together to do the finish work. I'm still not sure what I'm going to do on the forehead and brow; whether to shave the fur down short, leave it long, fur the brow, leave the brow bare. I'll figure it out later.
Just to help me visualize the proportions of the suit, I threw the existing suit around the base of the head to get an idea of mass:

I'm beginning to think this guy may turn out OK!
Next time, we set the head aside and start all the other work, so get ready!
You heard the man Gang !
Be here next time when we "Get a Grip".